
This is a "How-to" example demonstration of how members of the incubator.org platform are able to use the Blog App to publish content into the incubator.org online community website platform.
Step 1: Access the Blog Submission Interface
- Log in with your Registered User account.
- Navigate to the menu item labeled “Submit Post” (link in the Main Menu > Applications > Blogs > sub menu. *Note: if you don't see this, it's because you're not logged in.)
- This opens the Blog frontend submission form.
Step 2: Create a New Blog Article
- Upload your Cover Art at the top.
- Enter your Article Title in the title field.
- Write your content in the editor box (sometimes referred to as WYSIWYG Editor & if you don't know what that is see the citation at the bottom of this article)
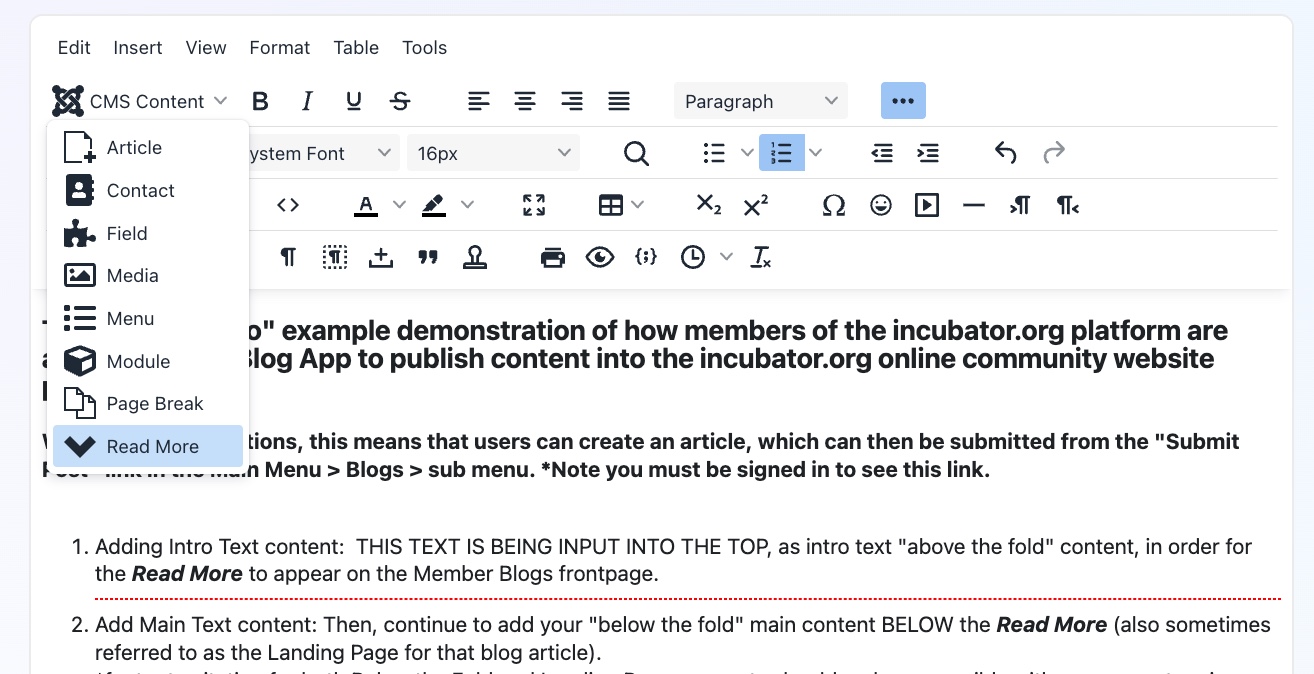
- You can format text using bold, italics, bullet lists, headings, and more. - Adding Intro Text content: THIS TEXT IS BEING INPUT INTO THE TOP, as intro text "above the fold" content, in order for the Read More to appear on the Member Blogs frontpage.
- Add Main Text content: Then, continue to add your "below the fold" main content BELOW the Read More (also sometimes referred to as the Landing Page for that blog article).
Step 3: Insert an Inline Image into Your Blog
📸 Option A: Upload Image via Editor
- Click inside the editor where you want the image to appear.
- Click the “Image” icon (looks like a mountain/photo).
- In the pop-up:
- Click “Browse” or “Upload” to select a file from your device. - Once uploaded, select the image file.
- Fill in:
- Image Description (alt text)
- Dimensions (or leave blank for auto)
- Alignment (left, right, center) - Click Insert.
📸 Option B: Upload via Media Manager, then Insert
- Click the “Media” button below the editor.
- Upload your image to the appropriate folder (e.g.,
/images/blogs/). - Copy the image URL or select it to insert.
- In the editor, use the “Image” icon, then paste the full image URL or browse to it.
Step 4: Add Meta Information and Tags
- Below the editor, fill in optional fields:
- Tags (e.g., health, tech, sustainability)
- Category - Set the Publish Date.
Step 5: Save and Publish Your Blog
- Select “Save”
- You may see a message like: “Your article is awaiting moderation”
- Your Blog article will be live, once it's approved.
See also: